Before starting a reissue, you will need to generate a brand new CSR/RSA pair and save your RSA for further installation.
If you are not able to generate a CSR yourself for some reason, please ask your web hosting provider to do this for you.
Once you have a new CSR, you may proceed with the next step. Reissuance is completely free of charge, unless you are adding SAN names to a Multi-Domain certificate with a reissue.
Note: Starting May 3, 2016, Comodo certificates can be reissued for any Common Name at no additional cost.
If you are reissuing an OV/EV SSL, use the same contact information that you used originally, unless you are reissuing the certificate to change this information. This will save you some time during reissuance.
Now that you’re aware of all the main points during reissue, we may proceed.
- Log into your Ekhteear account and proceed to the Domain list section:

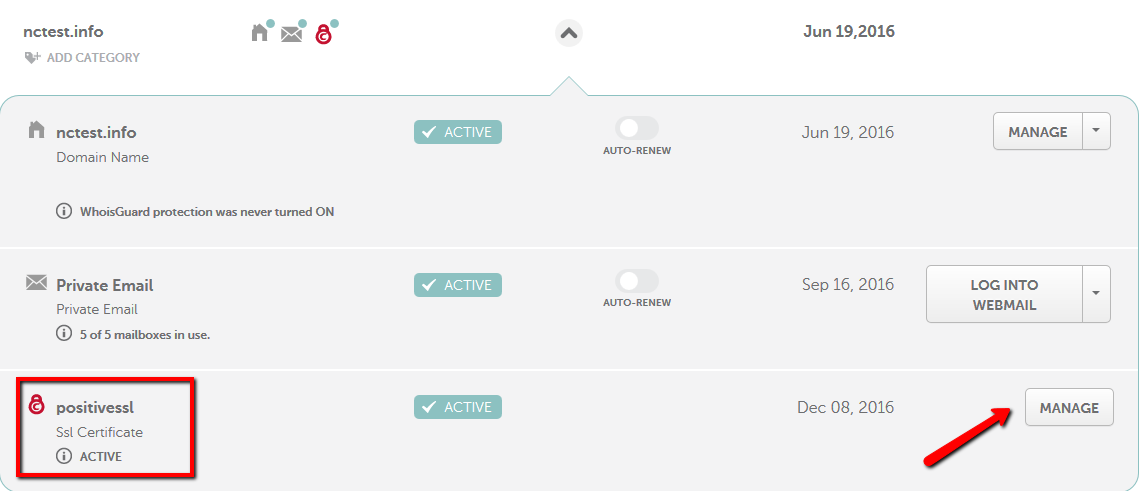
Here you can see all the domain names and services assigned to them, including SSL certificates. Please make sure you have the filter 'All Products' enabled in the Domain list.
- Click on the caret to expand the list of services associated with the domain name, locate the SSL certificate you would like to reissue and click on the Manage button:
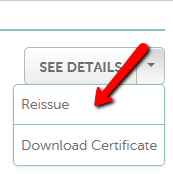
- You will see all the details about your active SSL certificate. To start the reissuance, click on the arrow-down near the See Details button and then select Reissue:
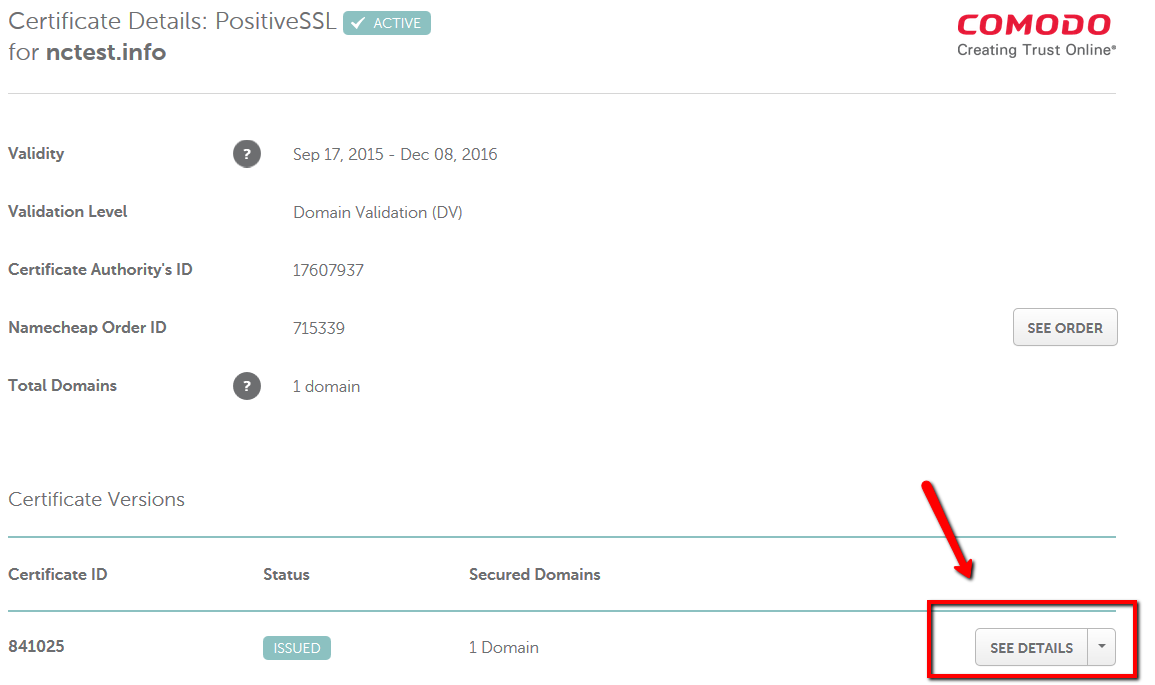
We recommend that you download the existing issued SSL certificate and save it prior to starting the reissue.
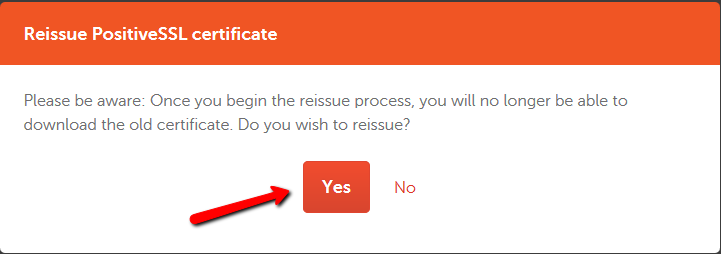
- As soon as you click on Reissue, you will see this notification:
- All other steps are the same as during the initial SSL certificate activation.
You will need to paste your CSR along with
-----BEGIN CERTIFICATE REQUEST-----
and
-----END CERTIFICATE REQUEST----- tags.As soon as the CSR code is pasted, you will see that the domain name will be fetched into the “Primary domain” section. The Web-Server option offers you to choose between Apache and IIS/Tomcat servers. If you have a Linux-based server different from Apache, you still can select Apache, because the SSL certificate file format will be applicable for your server as well.
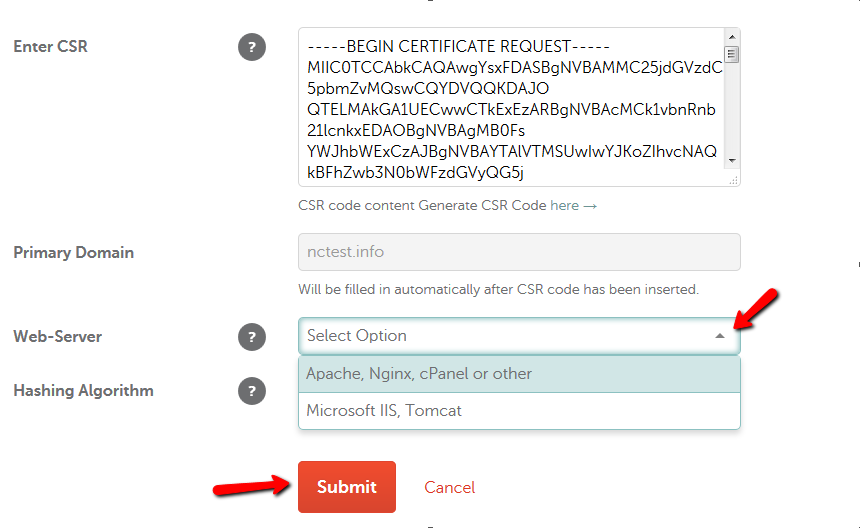
Please click on the orange Submit button to see a brief summary of the "about-to-be-reissued" certificate.
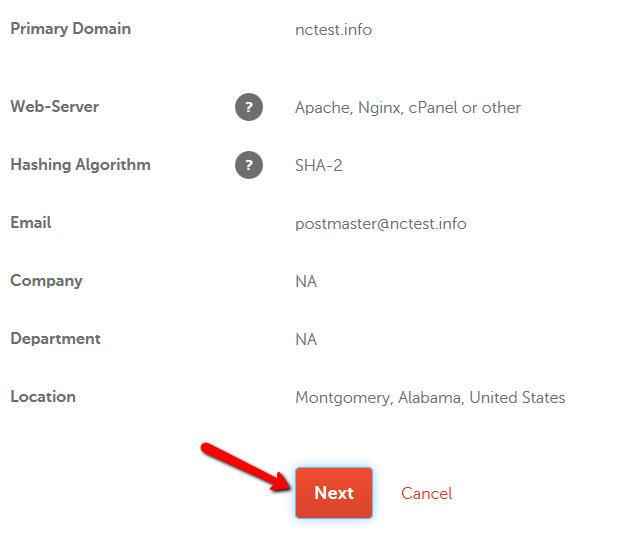
- The next step is to select the Domain Control Validation (DCV) method to confirm the domain ownership.

If the initial SSL certificate issuance was confirmed via email, this option will be set as default during the reissue, but you can go ahead and change it to the HTTP-based or DNS-based method.
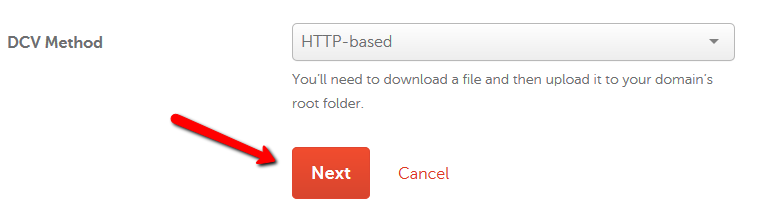
When the HTTP-based validation method is selected, you will be provided with a text file upon the SSL certificate reissue. It has to be uploaded to the root directory of your website so that it can be accessible via http://www.example.com/[file_name].txt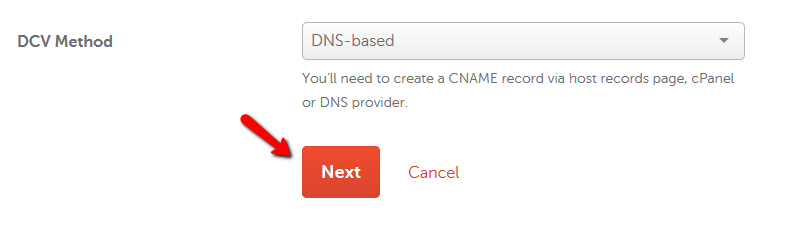
If you decided to go ahead with the DNS-based validation, you will need to create a CNAME record in your domain host records. You will be provided with the the record as soon as the reissue process is completed in your Ekhteear account.
- The Next button will lead you to the page with administrative details:
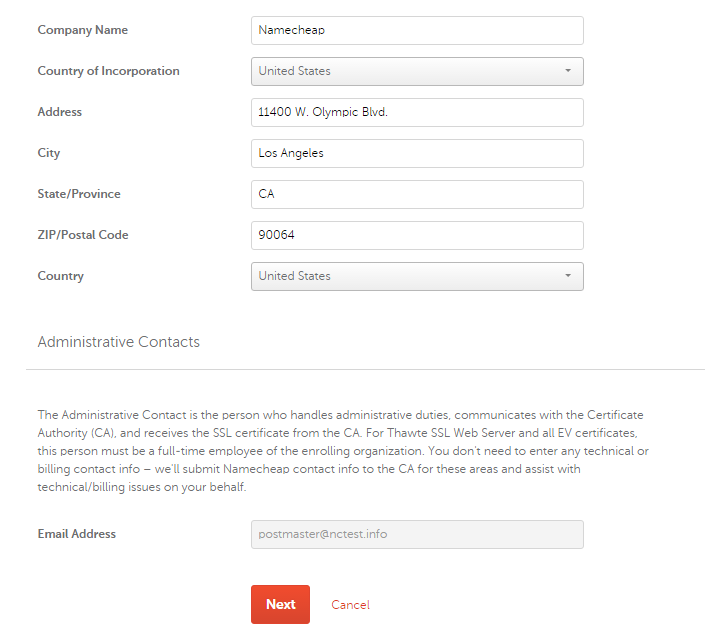
Note that the administrative contact email section is greyed out, and the new email address cannot be entered. The reason is quite obvious: Since this is a reissue, this data (email address to deliver a certificate file) has already been submitted to the CA databases. Unfortunately, the reissue process will not allow you to change this address. However, you will be able to download the certificate to your account after the reissue is completed.
- The last step will summarize the actions one needs to perform to complete domain control validation:

Almost the same message will be displayed if the email or DNS-based validation method is selected. Click “Confirm” to submit the reissue.
Now your SSL certificate information page will look like this: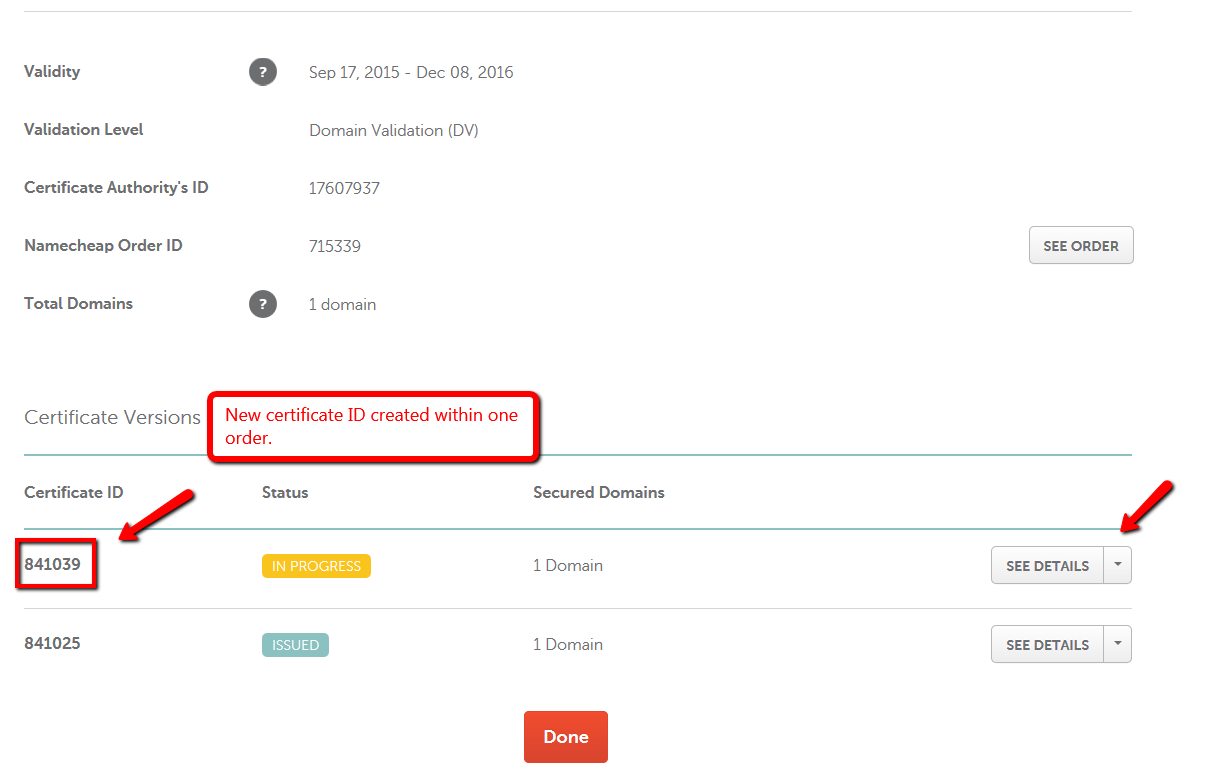
Here you can change the method to complete validation:

You can select between the email, HTTP-based and DNS-based validation methods.
The approver email is to be delivered to the approver address shortly after you finish activation. If you do not receive the email in 2 hours, please refer to the instructions provided in the What should I do if approval email was not delivered? article. When you confirm the issuance by following the link in the approver email, you should receive the signed certificate to the administrative email address you indicated during activation.
The situation is the same for HTTP-based and DNS-based validation. After the file is uploaded or the record is created, the certificate should be validated and issued within 2 hours.
It may take about 2 hours for the Certification Authority to process the order. If the certificate is not delivered in 2 hours, please contact our Live Support or submit a ticket.
